
Posted by Jvl Classicware
on August 06, 2026

In a small kitchen in Thrissur, there is a woman who has made puttu almost every morning for thirty years. She does not measure with cups. She reads the flour with her fingers, feels the warmth of the water on her wrist, and knows the exact second the steam has done its work. Her puttu comes out soft, warm, gently crumbly, and stacked in perfect cylinders — the kind you break open with your fingers and eat with kadala curry while it is still steaming.
The good news is this: you do not need thirty years to make puttu like that. You need the right rice flour, fresh coconut, honest steam, and a mould that distributes heat evenly. This is the authentic Kerala puttu recipe, written the way it is actually made in Malayalee homes — every layer explained so it comes out right the first time.
Explore the full JVL Puttu Maker here.
What Is Kerala Puttu?
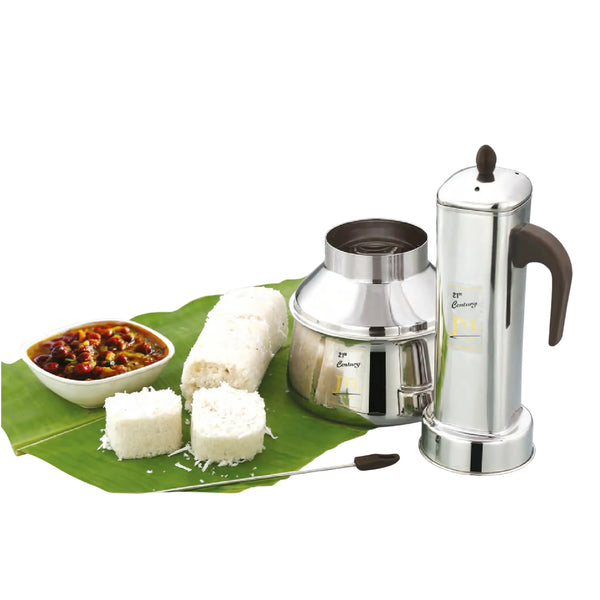
Puttu is a traditional Kerala breakfast made from coarse rice flour and freshly grated coconut, steamed together in a cylindrical mould until it sets into soft, log-shaped columns. The word "puttu" itself means "portioned" or "little bits" in Malayalam, which is exactly what the finished dish looks like — small, crumbly grains of steamed rice holding together in a gentle cylinder.
What makes rice puttu Kerala style so distinct is the texture. It is never sticky like idli and never dense like a cake. Done well, it is light and separate, with visible ribbons of white coconut running through each layer. It is a dish built entirely on two variables: the moisture of the puttu podi and the quality of the steam.
There are a few beloved forms of this dish across the state:
- Kuzha puttu — the classic cylindrical version made in a tall tube-shaped mould. This is what most people mean when they say "puttu."
- Chiratta puttu — puttu steamed inside a coconut-shell-shaped mould, giving it a rounded, dome-like form with a slightly firmer bite.
- Rice puttu, ragi puttu, wheat puttu, red rice puttu — the same technique adapted to different flours, though white rice puttu with fresh coconut remains the most searched and most traditional.
If you have tasted puttu somewhere and wanted to recreate it, the version you are remembering is almost certainly the white rice, fresh-coconut, steamed-in-a-puttu-maker classic. That is what we are making here.
What You Need for Authentic Kerala Puttu
Puttu is a two-ingredient dish at heart, which is exactly why the quality of each ingredient matters so much. There is nowhere to hide.
Ingredients
- Puttu podi (coarse rice flour) — 2 cups. This is roasted, coarsely ground rice flour made specifically for puttu. It should feel slightly grainy between your fingers, not powder-fine like idiyappam flour. You can buy ready-made puttu podi or make your own by roasting raw rice, cooling it, and grinding it to a coarse texture.
- Fresh grated coconut (not desiccated) — ¾ to 1 cup. This is non-negotiable for authentic Kerala flavour. Fresh coconut carries moisture and a natural sweetness that desiccated coconut simply cannot replicate. Desiccated coconut turns dry and dusty in the steam and flattens the whole dish.
- Salt — ¾ to 1 teaspoon, adjusted to taste.
- Warm water — roughly ¾ to 1 cup, added a little at a time. Warm water helps the flour absorb evenly and prevents lumps.
The Puttu Maker
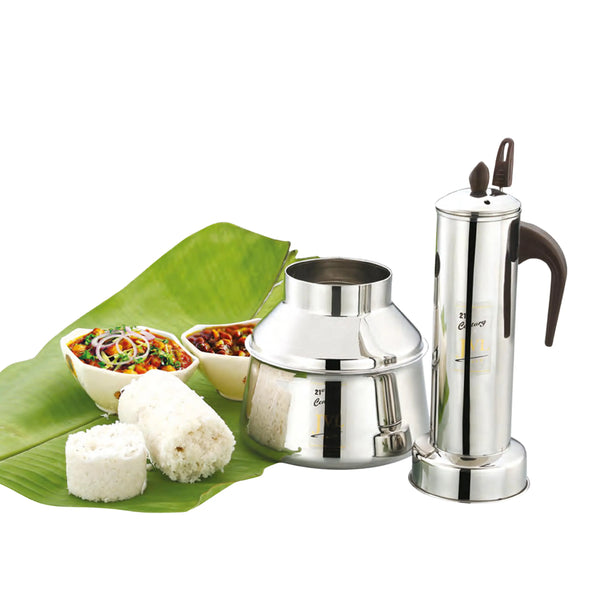
The mould is not an accessory here — it is what makes puttu puttu. The cylindrical shape and the perforated base plate are engineered so steam rises evenly through the flour, cooking every grain without turning the mixture soggy at the bottom or dry at the top.
A quality mould gives you three things a makeshift setup cannot:
- Even steam distribution through the base plate, so the puttu cooks uniformly from bottom to top.
- A food-grade stainless steel body that heats reliably and is safe for daily use.
- A triply or heavy base that spreads heat gently and works across gas, and is often induction compatible so it fits any modern kitchen.
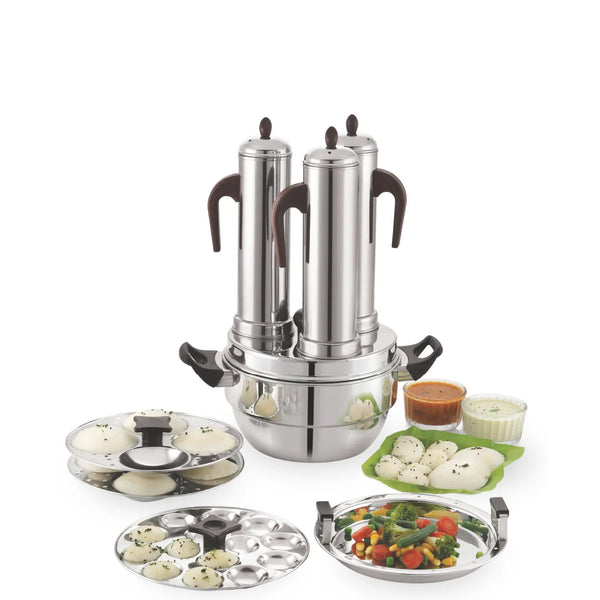
For most home kitchens, the Multi Purpose Puttu Maker with Triply Base is the practical choice — it handles kuzha puttu, doubles for other steamed dishes, and the triply base gives you steady, even heat on a medium flame.
How to Make Kerala Puttu at Home
This is the full traditional Kerala method, step by step. The whole process takes about fifteen minutes once you have your podi ready.
Step 1 — Get the Puttu Podi Moisture Right
This is the single most important step, and the one everyone rushes. Put the puttu podi in a wide bowl and add the salt. Now sprinkle warm water little by little, mixing continuously with your fingers.
You are aiming for a crumbly texture — flour that holds its shape when you press a fistful together, but breaks apart the moment you nudge it. It should never form a dough. If you can roll it into a ball that stays a ball, you have added too much water.
A simple test: squeeze a handful, then tap it. If it crumbles into loose grains, you are ready. If it stays clumped and wet, spread it out and add a little more dry podi.
Step 2 — Grate the Coconut Fresh
Grate your coconut fresh, just before you steam. Fresh grated coconut (not desiccated) is what gives Kerala puttu its signature aroma and soft moisture. Keep it separate from the flour — you will be layering, not mixing.
Step 3 — Layer in the Mould
Set up your puttu maker and fill the base of the water container. Now the layering technique, which is what builds those beautiful ribbons:
- Start with a small spoon of grated coconut at the bottom of the cylindrical mould.
- Add a layer of moistened puttu podi on top, loosely — do not press it down.
- Add another thin layer of coconut.
- Repeat, alternating flour and coconut, until the mould is nearly full.
- Finish with a final layer of coconut on top.
The key word is loose. Puttu should never be packed. Air and space between the grains are what let the steam travel through and keep the finished texture light.
Step 4 — Steam on Medium Flame
Bring the water to a rolling boil, then fit the filled cylinder onto the steam vent. Steam on a medium flame for about 5 to 6 minutes. You will know it is done when steam begins to escape steadily from the top of the mould and the aroma of coconut and cooked rice fills the kitchen.
Resist the urge to over-steam. Puttu cooks fast, and leaving it too long dries it out.
Step 5 — Push Out and Serve
Remove the cylinder from the base, and using the puttu stick, gently push the log out onto a plate. It should slide out in one clean cylinder, break apart softly, and steam as it lands. Serve immediately while warm.
Puttu Without a Puttu Maker
If you do not yet own a mould, you can still make a version of puttu, though the shape and steam distribution will not match the real thing. Some home cooks improvise using a steel tumbler or a small perforated tiffin container placed inside a steamer or pressure cooker (without the whistle). Cover the top loosely, steam on medium flame, and check after 6 to 7 minutes.
Be honest with yourself, though — puttu without a puttu maker works in a pinch, but the cylindrical mould and its base plate exist precisely because they solve the steam problem that improvised setups never quite fix. If puttu becomes a regular part of your breakfast table, a proper mould pays for itself in the texture alone.
What to Serve With Puttu
Puttu is almost never eaten alone. The classic Kerala breakfast pairs it with something moist and flavourful to balance its gentle, crumbly dryness.
- Puttu and kadala curry — the most iconic combination. Black chickpeas simmered in a roasted coconut gravy, served alongside the steaming puttu. This is the pairing most Malayalees grew up on.
- Ripe banana and sugar or jaggery — the simplest and sweetest option, often eaten by children. Mashed banana pressed into warm puttu is comfort food at its purest.
- Pappadam and a small banana — a lighter everyday pairing.
- Egg curry, fish curry, or green gram (cherupayar) — heartier accompaniments for a fuller meal.
For anyone new to the dish, start with puttu kadala curry. It is the definitive Kerala experience.
Common Puttu Mistakes to Avoid
Most puttu problems trace back to one of a handful of avoidable errors. Watch for these:
- Using desiccated coconut instead of fresh. This is the number one authenticity killer. Fresh grated coconut carries the moisture and flavour the whole dish depends on.
- Adding too much water. If the podi forms a dough, your puttu will come out dense and gummy instead of light and crumbly.
- Adding too little water. Under-moistened podi steams unevenly and falls apart into dry powder. Aim for that squeeze-and-crumble consistency.
- Packing the mould tightly. Pressed puttu blocks the steam and turns heavy. Layer it loose.
- Over-steaming. Five to six minutes is usually enough. Longer dries it out.
- Using flour that is too fine. Idiyappam or plain rice flour is powder-fine and behaves differently. Use coarse puttu podi.
Variations Worth Trying
Once you have the basic rice puttu mastered, the technique opens up.
- Chiratta puttu — steamed in a coconut-shell-shaped mould for a rounded, slightly denser puttu with a beautiful dome shape. It is a favourite across Kerala for its richer bite and is often served with a spicy accompaniment. If you love this style, a dedicated Chiratta Puttu Maker gives you that authentic shell form at home.
- Ragi puttu — made with finger millet flour for a nuttier, more nutritious version. Popular for its fibre and iron content.
- Wheat puttu — a wholesome variation using coarse wheat flour instead of rice.
- Red rice (matta) puttu — made with Kerala's traditional red rice for an earthier flavour and deeper colour, closer to how puttu was eaten for generations.
Why Fresh Coconut and Good Steam Matter So Much
It is worth saying plainly, because it is the whole secret: puttu is a dish with almost nothing to it, which is exactly why the details carry all the weight. There is no masala to cover a mistake, no gravy to rescue a dry batch. The rice flour and the coconut are on full display.
Fresh grated coconut gives you flavour and moisture. Coarse puttu podi at the right consistency gives you the crumbly, separate texture. And even steam — the kind a properly designed cylindrical mould delivers — is what ties it all together and cooks every grain the same. Get those three right and your puttu will taste like it came from a kitchen in Thrissur.
Frequently Asked Questions
What is puttu podi made of?
Puttu podi is coarse rice flour, usually made from roasted rice that is ground to a slightly grainy texture. It is coarser than the fine flour used for idiyappam. You can buy ready-made puttu podi Kerala style or make it at home by roasting and coarsely grinding raw rice.
Can I use desiccated coconut instead of fresh?
For authentic Kerala puttu, no. Desiccated coconut is dry and lacks the moisture and natural sweetness of fresh grated coconut. It makes the puttu taste dusty and flat. Fresh coconut is genuinely non-negotiable here.
Why does my puttu come out hard or dry?
The most common cause is incorrect moisture in the podi, or over-steaming. The flour should be crumbly — holding shape when squeezed, breaking apart when tapped. Steam only 5 to 6 minutes on a medium flame, and serve immediately.
Why does my puttu fall apart completely?
This usually means too little water was added to the podi, so the grains never bound together during steaming. Add warm water gradually until you reach that squeeze-and-crumble consistency.
How much water do I add to puttu podi?
Roughly ¾ to 1 cup of warm water for 2 cups of podi, but always add it little by little rather than all at once. The right amount varies with the flour, so go by feel: the mixture should crumble, never form a dough.
Can I make puttu without a puttu maker?
You can improvise with a steel tumbler or a small perforated container inside a steamer, but the results are inconsistent because the steam does not distribute evenly. A proper cylindrical mould with a perforated base plate is what gives puttu its shape and even cooking.
Is a puttu maker induction compatible?
Many modern puttu makers with a triply or heavy base are induction compatible and also work on gas. Check the product details, but a triply-base model is generally the most versatile for any kitchen.
How long does puttu take to steam?
About 5 to 6 minutes on a medium flame once the water is boiling. You will see steam escaping steadily from the top of the mould when it is ready.
What is the difference between kuzha puttu and chiratta puttu?
Kuzha puttu is the classic tall, cylindrical version. Chiratta puttu is steamed in a coconut-shell-shaped mould, giving it a rounded dome shape and a slightly firmer, richer texture.
Puttu is one of those dishes that feels humble until you make it well — and then it feels like home. Get your fresh coconut, keep your podi crumbly, respect the steam, and you will be making it the way she has for thirty years. Serve it hot with kadala curry, and enjoy.